Shower Reseal
Our place had some really nice bathroom and kitchen upgrades installed, but for whatever reason they were pretty stingy with the sealant. Some of the existing sealant has also corroded.
One especially problematic area was the bottom of our shower door
This spot actually had water leaking out of the bottom
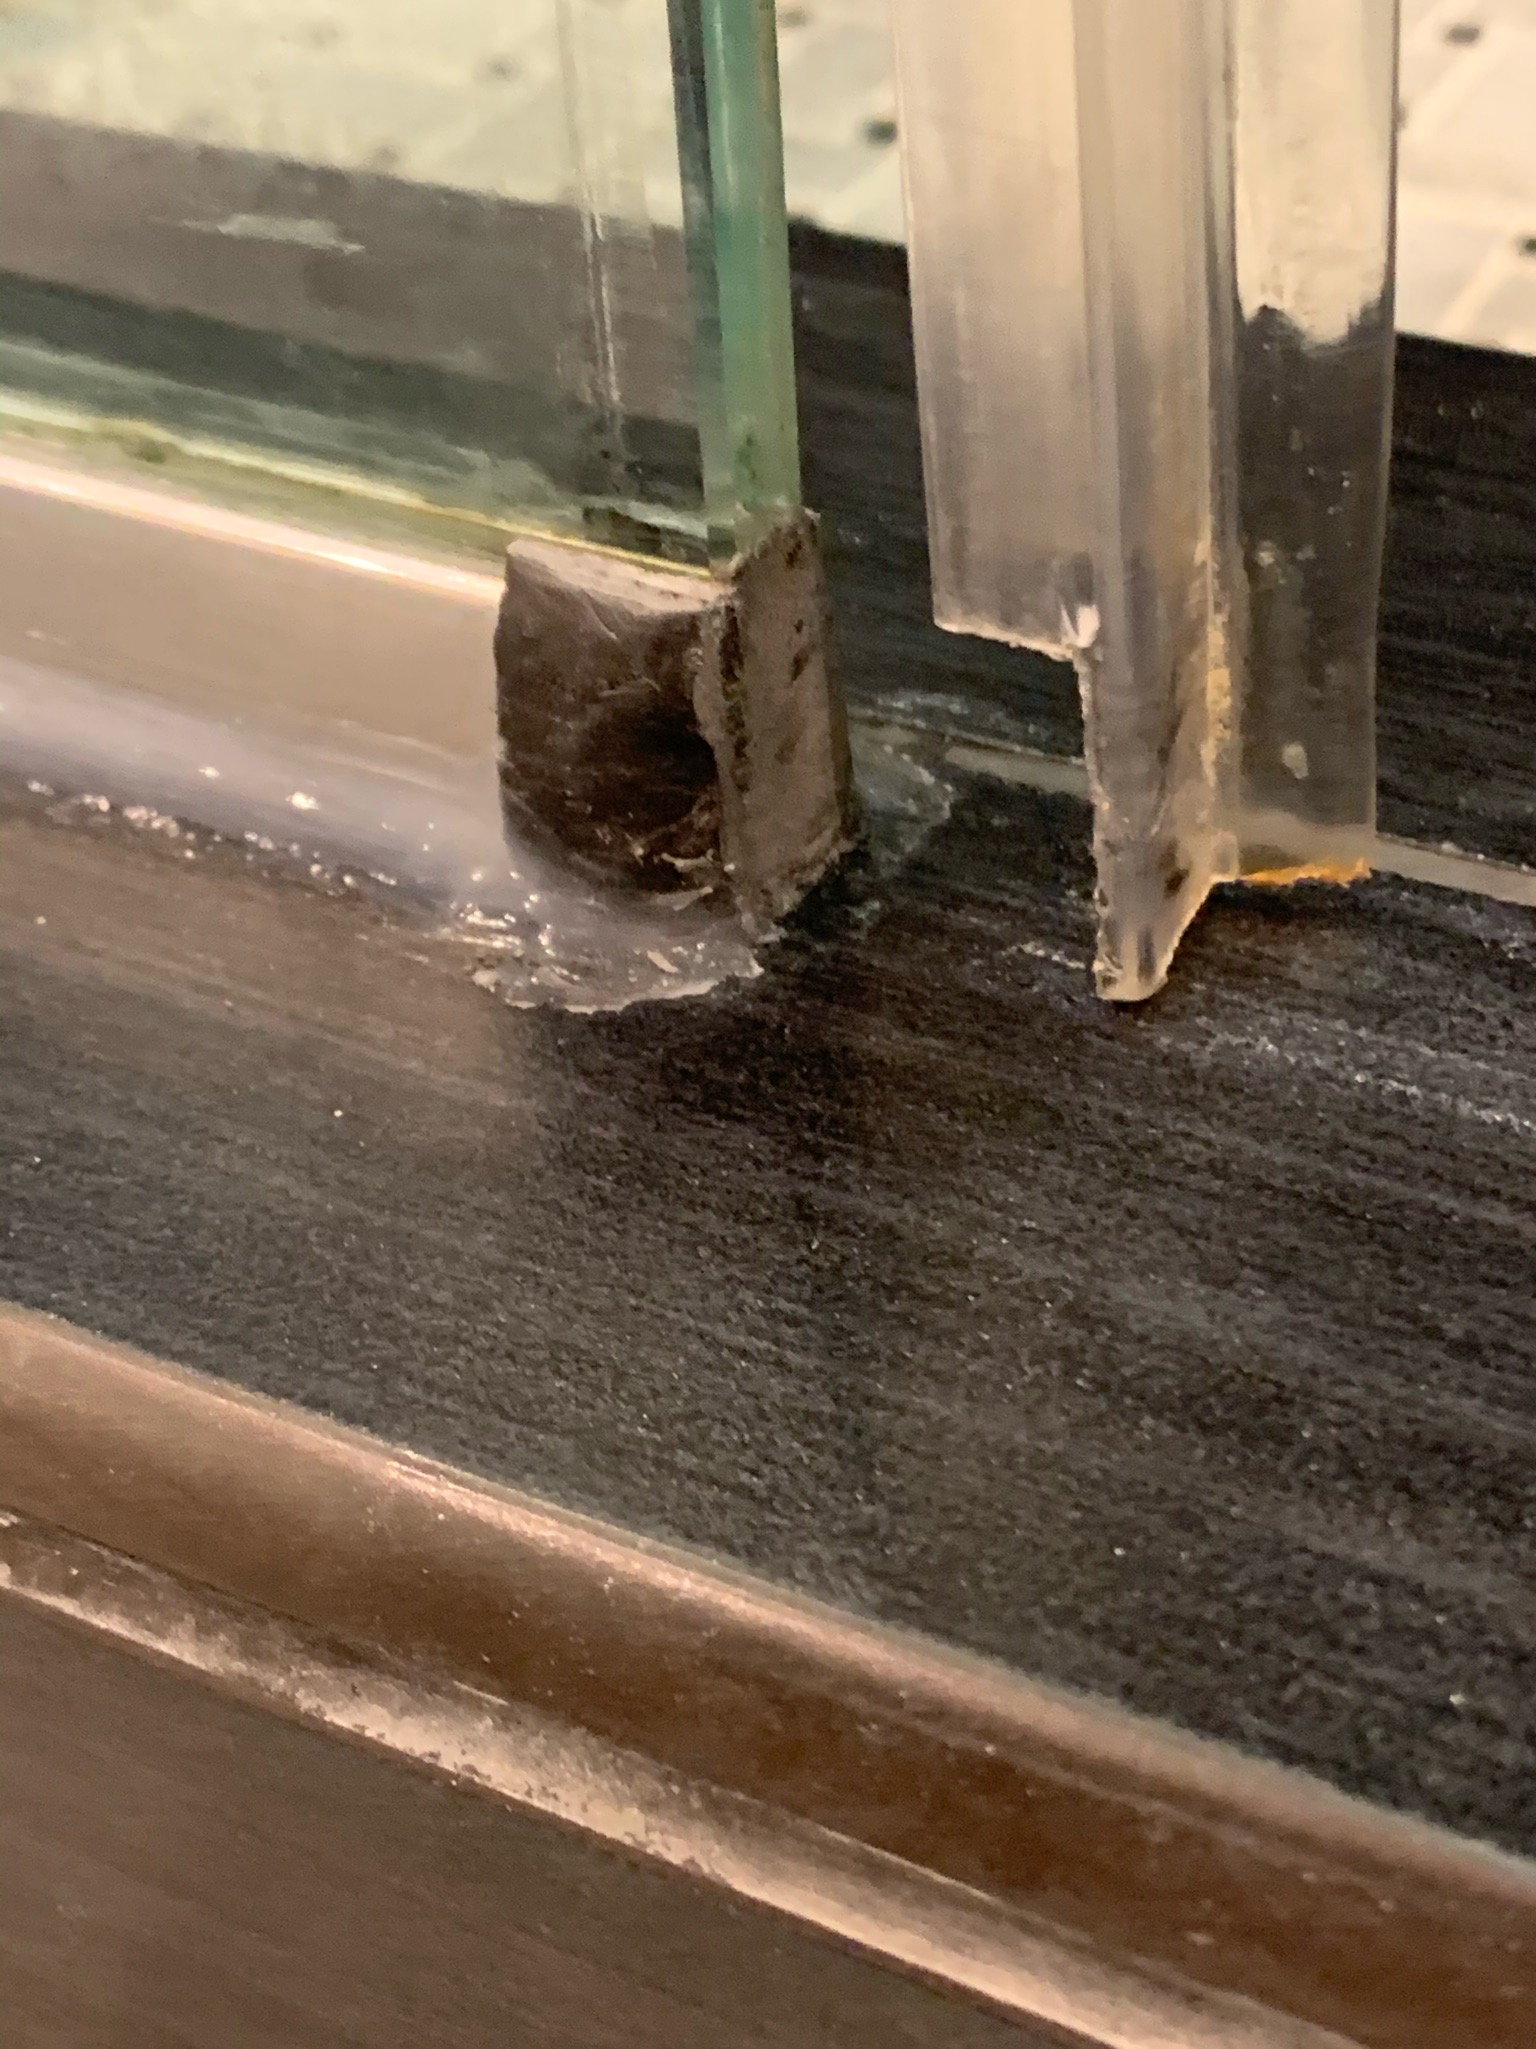
And this spot just had a big gap where they over cut the metal and didn’t bother to sand it
So we’re going to fix this! Rough strategy is:
- Get some highly rated clear silicone sealant
- Cut out the existing sealant
- Form a barrier in that gap with steel epoxy putty so water can’t get inside the railing
- This stuff is great for filling holes in metal or bonding cracked metal
- Use painter’s tape on the longer areas to get clean lines since this is a high traffic zone
- Apply generous amounts of sealant
The putty knife and utility knife were the weapons of choice for scraping the existing stuff away. This was my first time doing this size of a job, so I had to iterate on my scraping techniques a lot. I definitely spent a lot of time working harder, not smarter.
Water started to come out of the joints as I scraped off the old sealant, which was a sign that this problem was definitely going to get worse sooner than later.
Inside shot of how bad this was
Scraping took a couple hours as I worked on my technique. The technique I ended up relying on to remove large strips of sealant at once:
- Cut open a slot in the sealant with the utility knife
- Stand the putty knife upside down, with the blade in the slot that was made in the previous step
- Twist the knife horizontally to a 45 degree angle
- Press downward and push forward
Sadly since this is a 2-handed process, I didn’t get great in-progress pictures, but here’s the result
OK time to flex my arts and crafts skills with this putty. I cut a chunk off and rolled it around in my hand. It starts to harden after a minute so you have to work fast.
Prepping the area for the next step
This sealant is really great. I bought several tubes lol! It has a nice cutting guide at the tip, and a great reusable cap.
I don’t have great in progress pictures of actually applying the sealant, so here’s what it looks like afterward. I put an obnoxious amount because I don’t want to deal with this problem again for a long time lol
The main trick is to try to apply even pressure to get the sealant in all the spaces it needs to go, then put some water on your fingers and smooth it out with your fingers. Seriously, your fingers. Don’t use tools for that part, it’ll get way messier and won’t look as smooth. SOMETIMES the putty knife can help to flatten out awkward corners but the sealant will most likely drag off the surface when you pull your knife away.
So at this point I realized I made a horrible mistake, which was that the plastic siding on the door, above the epoxy putty, that helps hold the doors together, wasn’t able to close as tightly as it used to, which prevented the door from closing.
Time to get the mini filing set out. I had to do a LOT more filing than I expected, yikes! Luckily the epoxy putty is ultra durable after it hardens.

The finished product
